

I felt like trying something new, so I scrolled through Pinterest, and I kept coming across recipes for something called "Amish Bread" that looked a lot like plain old white bread. But one variation I found referred to "Amish Sweet Bread," and that caught my attention. Apparently this recipe has a slightly higher sugar content, so it's more like a coffee bread or a quick bread, which I thought my kids would really like. This is a super-easy, minimal ingredients recipe that I'm sure I'll throw together often from now on.
Seriously, it only calls for 6 ingredients, all of which I always have on hand: water, sugar, yeast, oil, salt, and flour.

The first step is to proof the yeast. Put two cups of warm water into a large mixing bowl (you'll eventually add all the ingredients to this bowl, so be sure it's big enough). Technically, it should be about 110 degrees, but who wants to bother with a thermometer? Use "hand-washing warm" water and you'll be about right.

Stir in 2/3 cups sugar, or less if you want the bread to be less sweet. Don't worry about the sugar dissolving. Add 1-1/2 tablespoons of yeast. They don't seem to make 1/2-tablespoon measuring spoons any more - I remember my mom having one, but none of my sets do. I'm way too lazy to measure out a tablespoon plus 1-1/2 teaspoons, so I just eyeball it. Yeast is pretty forgiving.


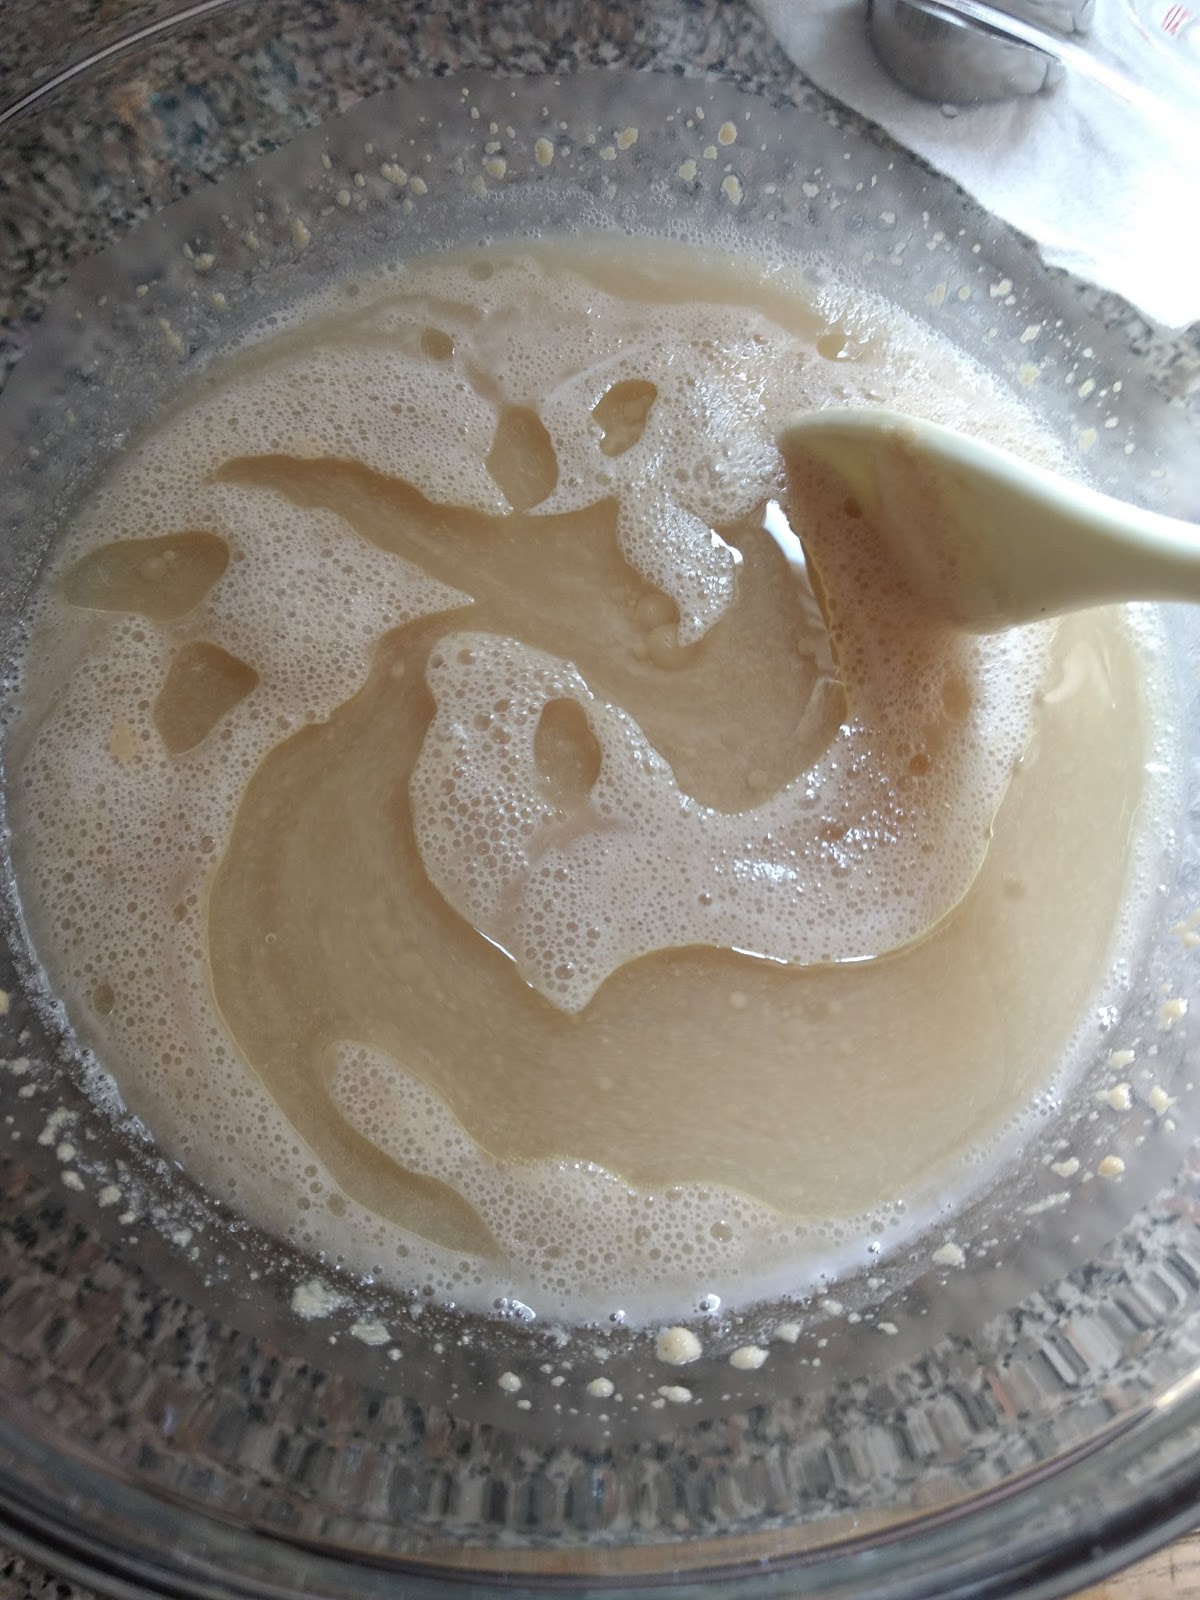
Once everything's been stirred together, let it sit at room temperature for 10 minutes or so to do its thing. When the time is up, it should be nice and foamy. Don't worry if there are still a few lumps or if not all the sugar is dissolved.

Stir in 1-1/2 teaspoons of salt and 1/4 cup oil (I used vegetable oil).


At this point, I moved over to my hand mixer with dough hooks. If you have a stand mixer, use it! If you have a hand mixer but no dough hooks, just use the regular beaters. You'll just have to stop and mix by hand a little sooner as the dough gets stiff.

Add 5-1/2 to 6 cups of flour gradually, about a cup at a time. Start on low speed to avoid clouds of flour everywhere, then crank it up to a slightly higher speed as the flour gets incorporated.

Don't forget to scrape the sides of the bowl with a rubber spatula now and then, and be sure to scoop underneath the dough ball to bring up the wet batter from the bottom, especially if you're using dough hooks.


Once the dough forms a fairly solid mass, you can switch to folding the flour in with your spatula, or just start to knead by hand. Even if it's fairly sticky at this point, it'll hold together enough to knead. Just scrape underneath now and then, because the flour tends to stick to the bottom of the bowl.


You can move the dough to a floured board to knead it if you want, but I've discovered that kneading right in the bowl is easier and gives you one less thing to clean. The only drawback is that the top of the loaf is often not as perfectly smooth as when you knead on a board, due to the bits of flour and dough that stick, but I'm willing to sacrifice perfect looks for not having to scrub my bread board. If you find your bowl slides around as you knead, toss one of those round rubber jar openers under it.

Knead the dough until it's smooth and elastic

Oil a large bowl (I rinse out the one I've been using and spray it with cooking spray), then place the dough in the bowl pretty-side down, then flip it over so it's coated with oil all over. You can spray the top with a little more cooking spray if you like.


Cover it with a towel (it's supposed to be slightly damp but I didn't bother) and allow to rise in a warm place for an hour or until doubled. My oven has a "proof" setting, but any warm place without a draft will do: top of the fridge, near a radiator (not too near!), sunny spot on the counter.

The dough should be nicely rounded and "poufy" when it's done rising.

Next comes the best part of baking bread: punch it down! With your fist, push the dough down right in the center. When you remove your hand, the dough should hold the indentation.


With a sharp knife (dip it in flour if necessary), divide the dough into two equal portions.

Grease two standard-sized loaf pans and lay each half of the dough in a pan, tucking under the cut edges to make a nice smooth top.

Cover and proof the loaves in the pans for another half an hour.

The loaves should be about to the top of the pan when they're done proofing. Pop them into the oven at 350 for 30 minutes, until the tops are golden brown.

Place them on a wire rack to cool in the pans.

I like to slather the tops with butter. It's not necessary, but it makes them look pretty and - if possible - smell even better than they already do.

Let them cool on the racks for a few minutes, then loosen with a knife if needed and turn the loaves out on the wire rack to finish cooling.


When completely cooled, slice and enjoy!