I've loved cooking shows ever since I was young. Julia Child's The French Chef taught me to make gourmet dishes with techniques and terms like "poach", "braise", "julienne", and "mirepoix". Jacques Pepin, particularly in his series Cooking with Claudine, taught me to make satisfying and delicious food with basic, inexpensive ingredients. But it wasn't until I discovered Alton Brown's Good Eats that I began to learn not just the "how" of cooking and baking, but also the "why". Why does steak taste better when you sear it on a grill before roasting it in the oven? Why does the texture of a cake improve when you use room temperature eggs and butter? Why do some foods need to cook "low and slow" while others are better with a short burst of high heat?

I recently discovered another wonderful source for answering my cooking and baking "why?"s in the book "Salt Fat Acid Heat" by chef Samin Nosrat, which my husband gave me for Mother's Day. Nosrat analyzes and explains the chemistry behind these four main building blocks of good food: how rapid evaporation of seawater in a closed container results in small dense crystals of sea salt which will dissolve evenly in food, while slower evaporation on the surface of an open container creates light, hollow flakes with a crispy texture ideal for adding to the top of pastries; how liquid oil creates a connection between meat and the surface of the pan which allows for even heating so the water in the cells can evaporate, creating a crisp crust; that meats with "fat caps" or large areas of fat on the outside of the meat (like duck breast, pork chops, or bacon) should be cooked at lower temperatures to allow the fat to melt and be soaked into the meat while still crisping and browning the meat itself. (I'm only partway through the book so I can't tell you more about acid and heat yet.)
I have reached the point in my own cooking and baking experience where I'm comfortable adapting recipes to my own tastes and preferences, but in order to have consistently successful results, I need to understand a lot of "why"s to know whether I can omit or substitute for a certain ingredient, whether I can bake a dish at a lower or higher temperature (very important for multi-dish meals like Thanksgiving dinner when my oven is doing double- or triple-duty), or whether I can make a recipe halfway then refrigerate it for a few hours before baking it. I don't need to blindly follow a recipe exactly as written!
Which reminds me of a story: A woman was preparing her traditional Easter ham, and she carefully sliced off a little of each end of the ham. Her young daughter asked why she did that, and she responded that she didn't know, but her mother always did it that way. So the girl asked her grandmother, who replied, "Your grandfather always bought a ham that was too big for my roasting pan, so I had to trim it a little to fit." Doing things without knowing why can lead to unnecessary steps, wasted food, and sometimes even poorer results. I know that my cooking and baking have improved since I began asking "Why?", so I want to share some of the answers I've discovered, and maybe you'll find that it helps to improve your cooking and baking skills, as well! And even if you're not an avid baker or cook, this information is just interesting to learn.
This post will be about the "why"s of baking, looking mainly at breads and pastries; the next one will be the "why"s of cooking, looking mainly at meats and vegetables.

Why do you use room temperature butter and whip it before adding the flour when making cookies and cakes?
Whipping butter, with or without sugar, incorporates air into the mixture, which gives a lighter texture to baked goods. Cold butter is much firmer and will form larger particles, leading to pockets of butter in the mixture and not as much air, resulting in a denser texture. The sugar crystals dissolve in the softer butter, incorporating it more evenly.

Can't I just melt the butter instead?
Liquid butter doesn't have the structure and stability to incorporate air like warm but solid butter does, and will result in cookies that spread flat while baking or cakes that are heavy and dense instead of light and airy. There are some recipes that call for melted butter and use different leavening ingredients and/or techniques to make the batter rise, but if your recipe calls for softened or room temperature butter, don't be tempted to cheat by melting it!


Pro Tip: A good way to soften butter quickly without overheating it is to put the unwrapped butter in your mixing bowl, then place the bowl in a shallow bowl of warm (not hot) water. Let it sit for a few minutes, then flip the stick of butter over to soften on each side. You can also place the wrapped butter on a saucer or small plate that you've run under very hot water and cover it with a smaller bowl that was also run under very hot water, occasionally flipping the butter and rewarming the plate and bowl. This method is a little slower, but can be sped up by covering the setup with a dish towel. I warm my butter while I'm measuring out my other ingredients, and by the time I'm ready to start, the butter is usually ready, too. If it's not, that's my excuse for making myself a cup of coffee or tea while I'm waiting. (I often drink coffee or tea while I'm baking, a habit I learned from the bakers on The Great British Baking Show; I often drink wine while I'm cooking, a habit I learned from Julia Child and Graham Kerr.)
So why do you use cold butter for some baked goods, like pie crust and croissants?
With apologies to Tevye, THAT I can tell you in one word: Lamination! Flaky pastry is created by trapping small pieces of solid butter inside the dough, so as it bakes, the water from the butter evaporates into steam which pushes the dough apart into many tiny layers. If the butter gets too warm, it will be absorbed into the dough and the layers will not form, resulting in the dreaded "clagginess" or "soggy bottom" (TM Paul Hollywood). This is the reason that many pie crust recipes call for adding ice water rather than simply water, and may even recommend chilling the mixing bowl and utensils.


Pro Tip: I learned to blend butter into flour using a pair of butter knives like scissors (above, left), but you can cut it in much faster with a pastry blender and its multiple sharp blades (above, right). The butter doesn't have a chance to warm up, and the pieces of butter are smaller and more even-sized, resulting in finer layers and a more consistent texture throughout your pie crust or pastry dough.
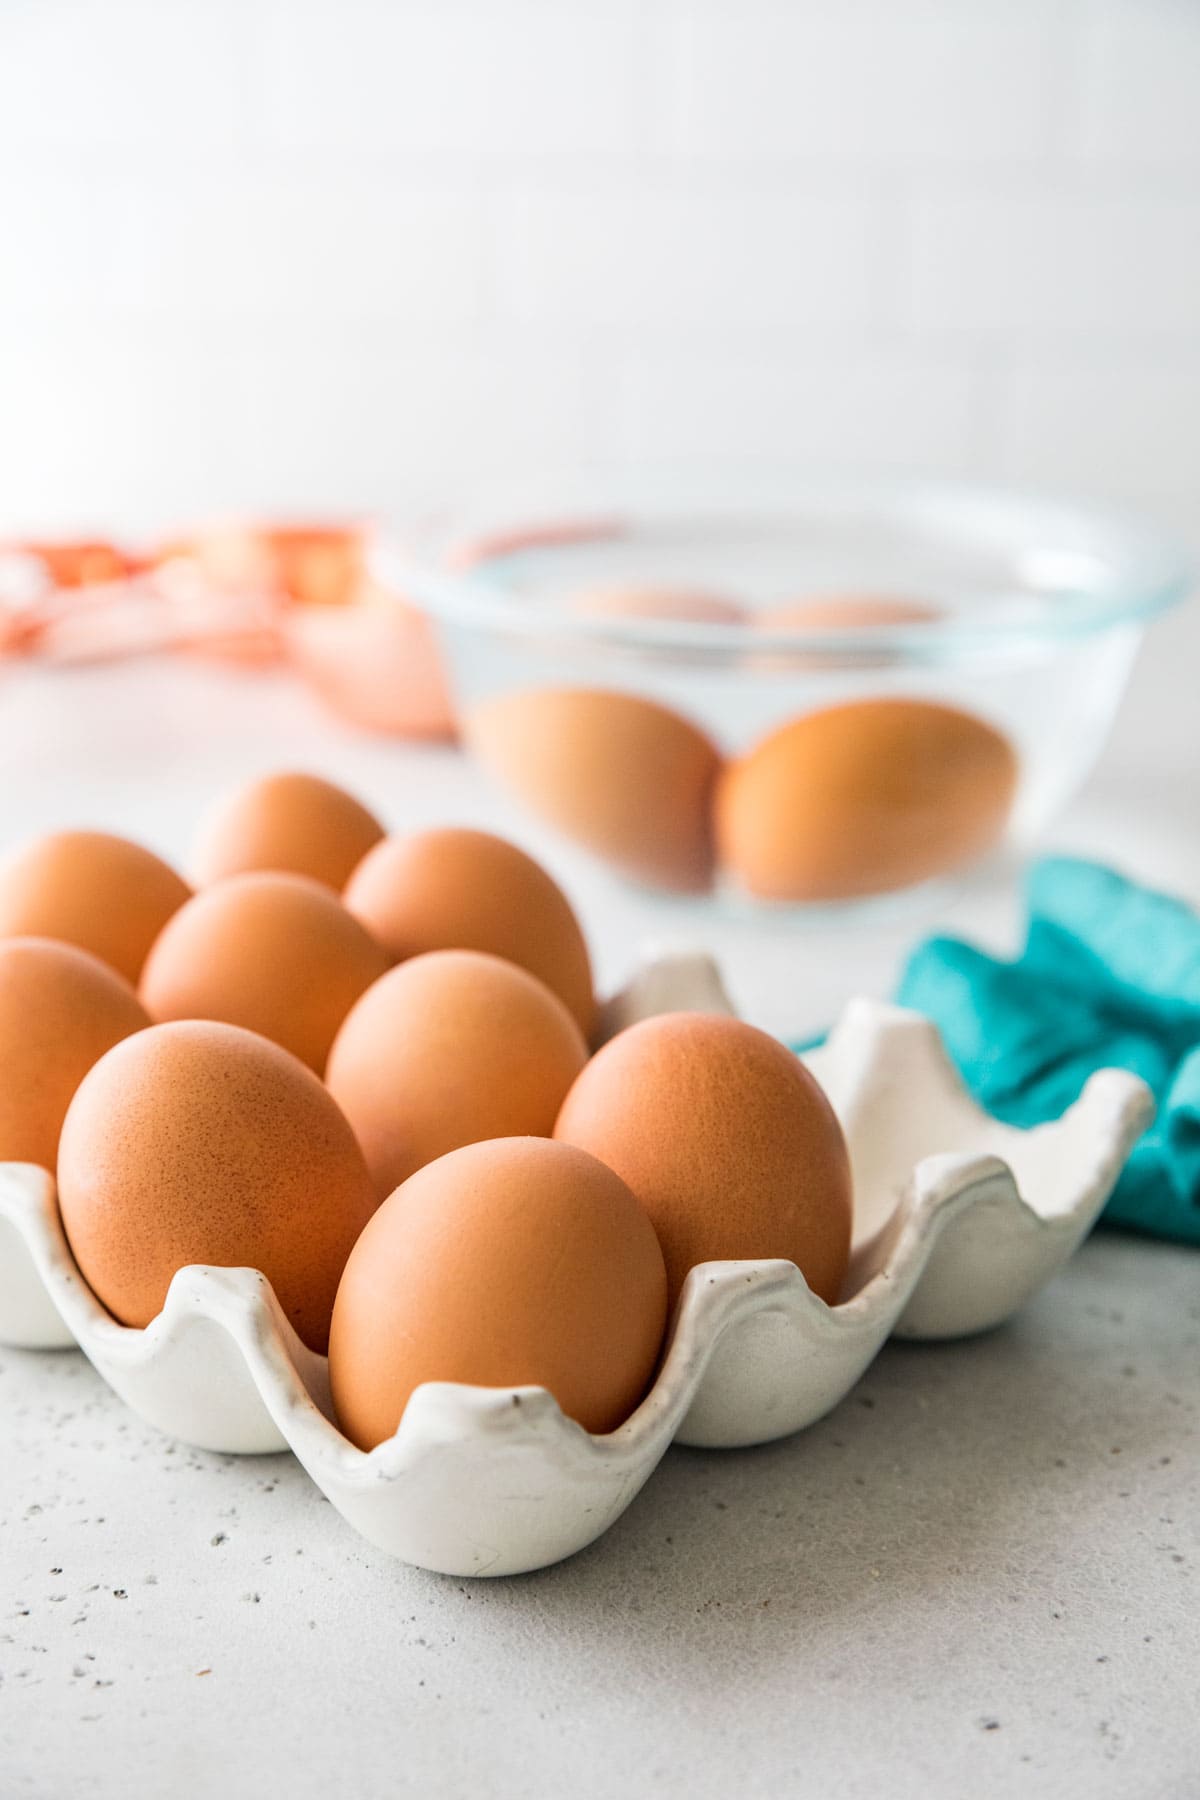
Butter temperature being important makes sense now. But what about eggs? Does it really matter if they're room temperature or if I just took them out of the refrigerator?
Remember the expression "oil and water don't mix"? Well, they do if you make an emulsion. That means that both substances are broken up into tiny particles that are evenly combined, usually by shaking or rapid whisking. In the words of Samir Nosrat, "an emulsion is like a temporary peace treaty between fat and water." Emphasis on "temporary," because if left alone, the particles will separate again - the larger the particles, the faster the separation. This is why you shake vinaigrette dressing right before you pour it - to recombine the oil and water evenly.

What does this have to do with eggs? You can make an emulsion more stable by adding an emulsifier, a substance which connects to both the fat and the water. (For chemistry fans, this means it consists of molecules with both a hydrophilic and a lipophilic portion.) Some examples of emulsifiers are mustard, honey and...egg yolks! And emulsifiers work best when they're at the same temperature as the fat and the water they're emulsifying. So it's important to know the purpose of the eggs in a recipe in order to determine whether they need to be at room temperature or not. If they're acting as a binding agent, such as in crab cakes or meatloaf, temperature doesn't matter. But if they're there to keep your batter smooth and emulsified, bring them to room temperature.

Pro Tip: You can bring your eggs to room temperature quickly by placing them in a bowl of warm (not hot) water for a few minutes before using.
Fun Fact: Butter is an emulsion of fat and water mixed with milk solids. When it melts, the emulsion "breaks," or separates into its components, and when it re-hardens, it's no longer properly mixed and has different properties than butter that has never melted. If you've ever found a puddle in your butter dish on a hot day (my family refers to this phenomenon as the "butter thermometer") and thrown it in the fridge to firm it up, you may notice that it is now grainy and watery instead of smooth and creamy. You can't really revive melted butter. It's best to just make a big batch of popcorn and use it up immediately.


Why do we sift flour, pack down brown sugar, and just dump granulated sugar into the measuring cup?
Flour is composed of very fine particles, which means that as it sits in your cupboard, the particles tend to settle together and become more compact. And a cup of flour that has become compacted is not the same amount, chemically, as a cup of flour that's fluffy. If you've ever used a European recipe, you'll notice that measurements are generally given by weight rather than volume. A cup of flour may not always be a cup of flour, but a gram of flour is always a gram of flour (I'm assuming we're staying on Earth). As long as your flour isn't clumpy, you're usually fine with simply fluffing it a bit as you measure rather than sifting it, but when in doubt, grab your kitchen scale and convert your recipe to grams, 120 grams per cup of flour.
Granulated, or white, sugar, consists of dry, regularly-shaped crystals which naturally settle together in a very uniform fashion, which means that you'll get pretty much the same measurement whether you sift it, try to pack it down, or just pour it. Brown sugar, on the other hand, contains molasses, which gives it a higher moisture content and a tendency to stick together, or clump. So it doesn't fluff easily and it forms large air pockets if you just dump it into a measuring cup. Packing it down pushes out those air pockets and results in a more uniform measurement.
Pro Tip: When I measure flour, I like to use a sieve like the top photo above, but it can get a little messy if I'm trying to sieve into a measuring cup. So I place a paper plate under the measuring cup and periodically pour the excess flour back into the cup. When I measure brown sugar, I use a handled measuring scoop like the two lower photos, and pack the sugar with the back of a spoon. It's easier to get an even surface than using a deeper measuring cup and trying to reach inside to tamp it down.

Why do some recipes call for mixing things like salt, baking powder, baking soda, and cinnamon into the flour rather than directly into the batter?
Like kneading, mixing a flour-based dough causes gluten to develop by combining water with two chemicals found in wheat, glutenin and gliadin. When you knead bread dough, it helps to align the long strands of gluten, providing stability, elasticity, and structure. When you mix cake batter, it also aligns the strands of gluten, but in this case, you aren't looking for denseness and structure, but for tenderness and lightness. So you want to mix your batter just enough to incorporate all the ingredients without overworking it and building up the gluten. It's difficult to spread out a single teaspoon or tablespoon of an ingredient throughout 5 or 6 cups of batter or dough without overmixing. But if you whisk them into the flour, they're already evenly distributed and you don't need to mix as much to work them through the dough. As soon as the flour is evenly incorporated, you know the other ingredients are, too.
Pro Tip: Many recipes call for whisking the flour with the other dry ingredients in a bowl, but I do it right in the measuring cup of flour - no need to dirty another bowl! Just be sure to use a measuring cup that's a little larger than the amount of flour needed, so you don't spill.

Does it matter whether I use Active Dry Yeast, Instant Yeast, Rapid Rise Yeast, or something else? What does "proofing" do and do I need to do it?
Yeast is a type of fungus (Saccharomyces cerevisiae, to be specific) which is inactivated by drying it out, so it can be stored until it's ready to be used. It acts as a leavening agent (something that makes dough expand and become light and airy) by converting the sugar in the dough into carbon dioxide and ethanol. Before it can do that, it may need to be "proofed," or activated, by putting it in warm water and usually feeding it a little sugar. If the proofed yeast foams, it's alive and healthy. [Note: Not all types of yeast need to be proofed, but it won't hurt to proof them. So if your recipe calls for proofing, go ahead and proof.]
There are different types of yeast available. Sometimes it matters what type you use, sometimes you can use a different kind with a simple adaptation to the recipe, and sometimes you can use whatever you have on hand. The most common types are usually available in either individual 2-1/4 teaspoon packets or larger jars.
"Active Dry" yeast is the standard, or default type. If your recipe doesn't specify a type of yeast, this is probably your best choice. It has slightly larger granules than other types, and takes a little longer to rise. Active dry yeast is the only type of yeast listed here that must be proofed. Once opened, active dry yeast should be refrigerated (or frozen), and will last for about 6 months (12 months in the freezer).
"Instant" yeast is essentially active dry yeast that has been milled into smaller particles, and does not need to be proofed - it can be mixed directly into the dry ingredients. "Bread Machine" yeast is a type of instant yeast and can be used even if you're not using a bread machine. Both should be refrigerated after opening. If your recipe calls for active dry yeast and you want to use instant yeast instead, use 3/4 of the amount. In other words, if the recipe calls for one packet (2-1/4 teaspoons) of active dry yeast, use a scant 1-3/4 teaspoons of instant yeast.
"Rapid Rise" (sometimes called "Quick Rise") yeast has enzymes added to it which make it work 50% faster than active dry yeast, and it doesn't need to be proofed. It moves things along quickly, which is a good timesaver, but can sometimes reduce flavor because the flavors don't have time to develop fully. If your recipe calls for rising twice, you can skip the second rise when using rapid rise yeast. Rapid rise yeast can be stored at room temperature. To substitute rapid rise yeast in a recipe that calls for active dry yeast, use the equivalent amount but decrease the rising time by about half.

Pro Tip: Yeast likes to be proofed at a temperature of about 105 to 115 degrees Fahrenheit; too cold and the yeast won't react, too hot and it might die. Fortunately, their preferred temperature range is about the same range that most people like to wash their hands at, so use that to gauge without bothering with a thermometer.
Do you have other cooking questions about how things work or why we do them that way? Let me know in the comments and I'll either update this entry or put together another list of questions in a separate entry!
Some Other Great Resources:
What is an Emulsion? - The Spruce Eats
Science in Action: The Chemistry of Baking - The Museum of Science, Boston
Different Kinds of Yeast - Boston Girl Bakes
![]()