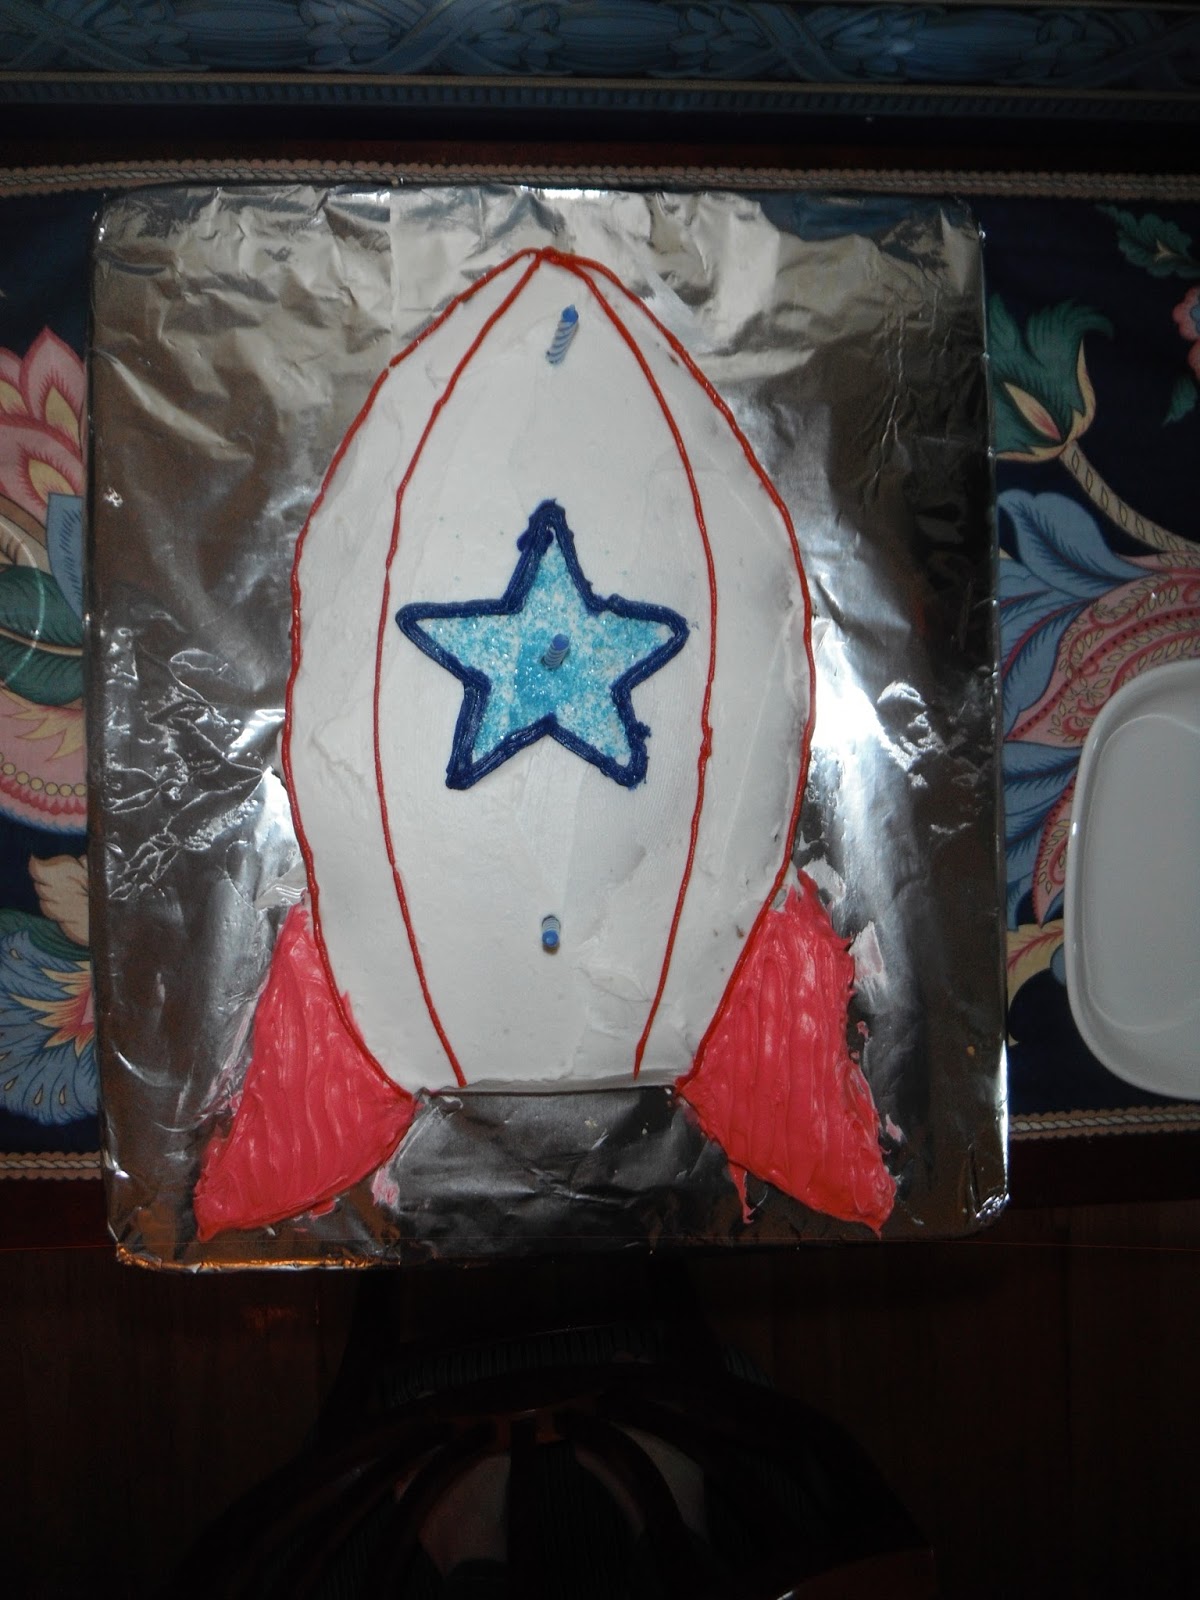
Showing posts with label birthday cake. Show all posts

Tuesday, August 4, 2015

Adventures in Birthday Cakes, August 2015 Edition

My daughter’s 4th birthday isn’t until next Sunday, but the family is coming over today to celebrate her birthday, so last night I baked her birthday cake. Well, last night we baked her birthday cake. Because both she and her 5-1/2-year-old brother wanted to help. Well, “help.”

Actually, my son is quite helpful in the kitchen. He’s good at reading directions, and cracking eggs, and stirring batter, and measuring things. His biggest problem in the kitchen is that he’s a licker. And when there are batter-covered spoons and bowls about, temptation abounds. However, as long as I keep an eye on him, he really can be a help.

My daughter, however, is another story entirely. My biggest issue with her helping is that she is incapable of being quiet. She offers a running commentary throughout the process: “What do we do next, Mama Chef? Are these the bowls we need? Can I lick this? Gotta stay away from the stove, it’s hot. Are we making a purple cake? Can I put the sprinkles on? Did you buy purple sprinkles? Did you hear Opie barking? Where’s Daddy? Can I have my princess castle now?” And on and on. It’s hilarious, but exhausting. And distracting. But since I want both of my kids to be comfortable and competent in the kitchen, I invited them to help.


You could say that my daughter’s helping started before we even got as far as the kitchen. She had originally asked me to make her a “Starfire from Teen Titans Go” cake, which involves an elaborate animated character with large eyes and pink hair and which would require more artistic talent than I could ever dream of having. I was figuring I’d have to get some of that edible photo paper and ink and print out a picture of Starfire to slap on top of a sheet cake. And then last week, she changed her mind and insisted she wanted a purple cake. just a purple cake. No shapes, no characters, just purple. With butterfly candles, or at least some form of butterfly involvement. Needless to say, I was thrilled at the change of plans. So we went to the grocery store so I could pick up a white cake mix and some white frosting. And then, she spotted this. And this.

It’s endorsed by Duff Goldman. That’s a good sign, right?

It really is vanilla flavored and not grape. But your brain really, REALLY wants it to be grape.

And she fell in love. The only thing better than purple cake with purple frosting is apparently rainbow cake with purple frosting. Well, it wasn’t much more expensive than the plain cake mix, and it would save me from having to figure out how to dye the cake purple, so I figured why not?

So I had the kids wash their hands and put on their aprons, and we were ready to go!

We run a “shoes optional” kitchen.

I let them take turns breaking the eggs, and was impressed that I didn’t have to fish out a single eggshell. Of course, I realized after I had them break the eggs into the cake mix that I was only supposed to have used the egg whites, but eggs, egg whites…po-TAY-to, po-TAH-to, right?  Moving on. But not for long for one of our chefs, who was busted licking a spoon not three seconds after I warned him not to lick the spoon. Banished amidst many tears. Chef #2 was warned to learn from the error of her brother’s ways and managed to stir the batter for nearly a minute before deciding this baking without licking deal was boring and wandering off. 


I finished the mixing and lined up the series of bowls needed to divide the batter into 6 batches for coloring. I figured that Chef #2 would enjoy stirring in the colors, but once she realized that the beaters were now available for licking, she informed me that I could do it myself. 

Note the elegant set of matching bowls. Apparently we eat a LOT of lobster bisque from Costco. 

She’s a double-fisted batter licker. 

Most of the colors looked nice and vibrant, but that purple was kinda sketchy. 

The directions said to carefully pour half of each color of batter into the centers of the two pans, pouring carefully so as not to disturb the previous colors. It wasn’t as difficult as it sounded, and as I added each color, the layers below spread out to fill each pan like a giant pair of eyeballs. 


Yeah, the purple was still looking pretty sketchy. 

Giant eyeballs peering back at me as I’m peering at them through the oven door. Isn’t this a scene from a Stephen King novel?

While the cake was in the oven, I went downstairs to comfort the still sniffling Chef #1. And what better comfort than a spoon and a lickable bowl of his favorite color of cake batter? 

I swear, no Smurfs were harmed in the creation of this image.

And since Daddy is also a known fan of licking bowls, beaters, and anything else with batter on it…

Shoes-optional kitchen; pants-optional office.

Finally the oven timer played its happy little tune, the “toothpick inserted into the center of the cake” came out clean, and the pans sat cooling (and smelling delectable) until it was time to unmold them. And then: disaster struck!

This part of the cake came out of the pan…

 But this part of the cake didn’t.

Well, that’s what frosting is for, right? I’ll stick it back together, good as new. Shh, don’t tell.

Nah, nobody’ll notice anything.

A plain boring old round layer cake is…well, plain and boring, so I decided to cut the circles in half and put them back to back to make a butterfly shape. Cutting the unbroken bottom layer in half was easy enough, but cutting the broken top layer was a bit of a challenge. Luckily, the cake was moist enough that the pieces stuck together long enough that I could glue them in place with frosting. 

Frosting covers a multitude of sins, a fact for which I am very grateful.

A quick peek at the side view shows only a passing resemblance to the photo on the package, but the purple is at least slightly less dismal than before it baked. It does look significantly less like a bad acid trip than the photo on the package, so that’s a plus, right?

Finally, I coated the whole shebang with a thick layer of frosting to hide any imperfections, then it was time to add the final details: pink and purple sprinkles, as requested by the birthday girl; a candy cane with the curve broken off to form the butterfly’s body – but what to use for antennae? I didn’t have any Twizzlers on hand and I couldn’t find either the package of drinking straws or the bag of pipe cleaners that I KNOW are around the house somewhere. But as I dug through the kitchen junk drawer, I found a wacky curly straw that I had hidden because it’s a nightmare to wash. Aha! A few snips from a pair of sturdy scissors and I had myself two exotically curly butterfly antennae. 


It may lack the glamour and detailing of some of my past cake creations, but it meets all the criteria requested by the birthday girl: It’s purple, there are sprinkles, and there is a butterfly. I’d say it’s another winner!

Bookmark and Share

Saturday, August 9, 2014

How to Make a “Frozen” Cake, No Artistic Talent Required


I, much like my mother, have zero artistic talent whatsoever. But I, also like my mother, for some unknown reason, feel a pressing need to make artistic (or at least, “themed”) birthday cakes for my children while they’re young. Last year, when my daughter turned 2, she was all about dolls and Barbies, so of course, I made her a Barbie doll cake. I ordered a mold and a creepy legless Barbie doll on Amazon.com, picked up a couple of cake mixes, a tub of pre-made frosting, and some decorator frosting-in-a-can at my local supermarket, and went to town. And I have to say, I was pretty pleased with the result.


The best thing about this cake, for me, was that it was completely free-form. It pretty much had to be pink and be generally recognizable as a dress, but other than that, I could do whatever I wanted. And I did.

But this year, 2014…when you have a 3- (or 4-, or 5-, or 6-, or – well, you get the idea) year-old daughter, 2014 is the year of Frozen. It is the year of Anna and Elsa and Olaf and Kristoff and Sven and Hans and the trolls. It is the year of “Let It Go” and “Do You Want to Build a Snowman?” and “In Summer.” Honestly, the only choice I had this year regarding the cake was whether it would Anna or Elsa. (Olaf and Sven were absolutely out of the equation, and Kristoff and Hans were only options if they were willing to wear ball gowns). So I checked out their various dresses, and since Elsa spent a great deal of the movie (the coolest part of the movie, ahem, so to speak) wearing a blue gown decorated only with spangles, it wasn’t that difficult of a choice to make. 

(I’m rather partial to redheads, but Anna is a little too fond of complicated embroidery in multiple colors. White snowflakes I can handle; elaborate tole painting designs, not so much.)

So I gathered my supplies: I dug out last year’s cake mold from the back of the shelf (after searching for it in 16 other places), a cake plate on a stand, some white and silver decorator sugar I had bought to sugar the rim of cocktail glasses a few years back, and a bottle of blue food coloring that I’m pretty sure I bought in 1993. I went to Target and picked up the cheapest blond Barbie I could find (yet another reason Elsa was the better choice – no way could I have found a red-haired Barbie for 6 bucks on short notice). She came with a pink tiara but my husband had bought me a woman’s silver and rhinestone ring shaped like a tiara which happened to be exactly cheap-Barbie-doll-head-sized. And a final grocery store run yielded a couple of yellow cake mixes, a tub of white frosting, and a can of decorator icing, also in white. I poured myself a glass of wine, and I was ready to begin!

Step 1, rather obviously, is to bake the cake. The doll mold looks deceptively small, but I discovered last year that it takes two whole cake mixes to fill the mold!

It’s the TARDIS of cake pans: much bigger on the inside than on the outside.

I discovered this year that this year's brand of cake mix was just enough bigger that the mold overflowed when it baked, but I was fortunate enough to notice it early and lined the bottom of the oven with tin foil to catch the drips. This resulted in a sample that was perfectly baked when I checked on the baking halfway through.

Once the cake is in the oven, you can move on to Step 2: Doll Preparation and Insertion. If you are using a normal doll pick, there really isn’t much to this step. If, however, you are using a cheap Barbie doll that is intended to represent a recognizable character, there’s some work to be done here. In this case, Elsa needs her trademark side braid and her tiara. So first, you’ll need to braid her hair. Her shiny, very shiny, oh-so-shiny hair. Do you know what hair feels like when it is shiny, very shiny, oh-so-shiny? It feels slippery. Very slippery. Oh, so slippery. Which means that a) it is extremely difficult to braid the wee little 3-inch length of it, and b) a tiara will not stay on. Luckily, my daughter also has about 3 wee little inches of slippery hair, so I have some degree of practice, as well as access to teeny-tiny hair elastics. Also luckily, I am a seamstress and therefore did not hesitate to stitch that little tiara right onto Elsa’s hair. Well, mostly her hair. Possibly her head a little bit. But mostly her hair. I'm not a monster here, people.


Now that Barbie has been transformed into Elsa, it’s time to cool and unmold the cake and put Elsa’s dress on her. The doll I used last year was technically a “pick,” which meant that instead of having legs, the torso stopped abruptly at the waist and there was a single spike projecting downwards. It was a bit disturbing, but it did hold the doll in place quite snugly.

This year, since I was using an actual doll with all the usual appendages, I had to cram the legs into the cake. This was extra complicated because this particular doll had one knee permanently bent, but I managed to get her in there relatively solidly. 

The final part of the Doll Preparation step is to make sure that a) no frosting gets into the hair, and b) no hair gets into the frosting. The easiest, if not the least creepy, method is to wrap the doll’s head in plastic wrap and tie it tightly.

Much like the weird stuff they often put on your head at the hairdresser,
it feels stupid but the final results are worth it.

Step 3 is Plating the Cake. This is a somewhat precarious step. Before I attempt it, I am very careful to gather all the needed materials: the plate, a knife, a sketch of my planned decorations, and a glass of wine. (The latter is the most important.)


You don’t want your doll to wobble on the plate, so before you move it, be sure to color your frosting to your desired shade and spread a nice, thick blob of it on the plate to act as cement.


Then all you have to do is knock back some of the wine, take a deep breath, grab the cake gently but firmly with both hands, say a quick prayer, and slap that baby onto her pedestal.


Once she’s centered and firmly attached, you can begin Step 4: Frosting and Decorating. If you want to be really fancy and professional about it, you can start by doing a rough “crumb coat” and letting it set in the refrigerator before neatly applying a smooth, final coat. Yeah, ain’t nobody got time for that. I brush off the crumbs and slap on one really thick layer of frosting (partly so the crumbs don’t show but mostly because, let’s be honest, the frosting is the whole reason we eat the cake, right?). I use the smooth edge of a butter knife to roughly spread large globs of the frosting on the center of the cake, then go back and neatly (well, sort of) fill in the top and bottom edges.


Luckily, even cheap Barbies have articulated arms, so I swiveled them up in the air to get them out of the way. It made her look like she was screaming for help and trying to rip off the plastic wrap, but I told her she was making a sacrifice for her art and just kept frosting. 

Since my doll already had a white, painted-on bodice, I only had to pull the frosting up high enough to cover the pink, but if you need to create a shirt, it’s much easier to use decorator frosting and a star tip than to try and create a decent-looking shirt out of regular frosting. At least, it is if you have the kind of fine motor skills and artistic eye (by which I mean a complete lack thereof) that I do.

Once you have a smooth coat of frosting, you need to move quickly to add the fine details. For this cake, the only tools I needed were a can of white decorator icing with a star tip and my fancy sugars.


Elsa’s gown is covered with icy sparkles, so I started to sprinkle the sugar down her gown, reaching close to her body to avoid ending up with dull spots. I started with the white glitter, then attempted to add some silver but it just bounced off instead of sticking to the frosting. Eh, all white is good. Snow and ice are white, right? Who needs silver, anyway.

As you may have guessed from the sketch in one of the above photos, I had originally intended to add some swirls and snowflakes with the decorator icing, but given a) how pretty the dress looked with sugar alone, and b) the fact that when I tried the icing using the smallest tip, it looked like snowman poop rather than delicate snowflakes, I opted to leave off the fancy work.

I did need something to finish the dress at the bottom, since it’s hard to get the bottom edge of the frosting to look smooth. So after wiping the excess frosting off the plate with my finger a damp paper towel, I added a row of fat white stars to edge the gown. I always practice one on a paper towel before starting on the cake, and then throw it away. This is always the most perfect star of the whole batch. 


Which is why I always start at the back, because by the time I’m halfway around, the quality of my stars has finally started to approach the perfection of that first one.


Once that final detail has been added, it’s time to free Elsa from her plastic wrap bonds! Be careful not to accidentally pull her out of the cake or dislodge her hair elastic, especially the latter, as it’s likely to take you less time to re-bake and re-decorate a whole cake than it is to re-braid that bloody shiny hair.

And voila! Princess Elsa!


This cake isn’t going to win any awards, but it IS going to make a certain little princess in my house very, very happy!

And there's both wine and frosting left over, which is going to make a certain big princess in my house very, very happy, too. 

Bookmark and Share

Saturday, November 2, 2013

Photo a Day, Day 2: I Did This Today

Today was my son’s 4th birthday. In keeping with my family’s tradition from my own childhood, I let the birthday boy pick a design for his own cake. A few weeks ago, it was going to be a robot, but a few days ago, he changed his mind and insisted he wanted a monster truck cake instead. Since we had seen his favorite monster truck, “Bigfoot,” in person some weeks ago, I decided I would make a monster truck cake decorated like Bigfoot.

Being too cheap to buy a new specialty cake pan every year, I found a photo of a monster truck cake made from a specialty pan and figured out how to approximate it using standard cake pans. Last night, I baked a cake in an 11x13” pan, trimmed out a couple of wheel-wells (perfectly-sized samples, one for me and one for Daddy) and above the hood, sketched out my design, and waited for morning. This morning, I “crumb-coated” the entire cake with white frosting (a technique I credit to too many cooking shows to mention), and then carefully laid out my various colors of decorator frosting and my diagram, took a few big slugs of coffee, and set to work.


In about an hour, I had a passable looking monster truck. A few Halloween candies for garnish, a carefully matched pair of chocolate glazed donuts, 4 squiggly candles, and – voila!! The piece de resistance.

Granted, it’s not quite proportioned the way it should be. I gave up on trying to write “Bigfoot” in script like it is on the real truck. It could have benefited from having a little cartoon driver. And there was more white frosting showing behind the blobs of color than I would have liked. But the way my son’s face lit up when he saw it and announced excitedly, “It’s a monster truck cake!! It’s BIGFOOT!!!!!” proved to me that none of that mattered.

He didn’t care that it wasn’t perfect. He didn’t care that it wasn’t exact. He only cared that his mom had made something very special, just for him, just like he wanted.

I did this today!

Bookmark and Share

Sunday, August 11, 2013

Piece of Cake

When I was a little girl, I always looked forward to my birthday. Of course, I loved getting birthday presents, and I loved that it was the one time every year that I got to choose the whole dinner menu (and even omit vegetables without being scolded). But what I loved most of all was the cake. When I was older, the good part about the cake was that I got to choose the flavor, but when I was small, the exciting part of the cake was that my mom would make it in the shape of something. One year it was a choo-choo train with Oreo wheels. One year it was a caterpillar with miniature candy-cane antennae. A bright red ladybug with licorice spots. A teddy bear with a gumdrop nose. Some years it was the shape of the number of my age decorated with my favorite candies.

But it was always something more special than a cake-shaped cake, and it was always something that I loved. And it was usually a surprise.

I promised myself as a child that when I had children, I would do the same for them for as long as they enjoyed it. Little did I know that by the time I had children of my own, extravagant cake decorating would be a huge trend and elaborate fondant-trimmed cakes created by a bakery (or a much more artistic and talented mom than I) would be the norm.


So when I sat down to make my own children’s cakes, I was intimidated for a moment that my creations would not be as spectacular as these. But you know what? I knew that my kids wouldn’t care. Like me, their cakes will be special to them not because they are works of art, but because they will know that their mom spent time choosing, baking, and decorating something special just for them. 


And if I raise my kids so that knowing that someone did something special for them makes them happy, then I’m doing something right with this parenting thing. And that’s so much more important than baking the perfect cake.

Bookmark and Share