Showing posts with label easy bread recipe. Show all posts

Monday, March 4, 2019

Homemade Pita Bread

There's a foot of snow outside my front door and the kids have the day off from school. How to keep them busy and out of trouble? Bake something!! And I recently discovered that homemade pita bread is easy, fun, and delicious. If you need a great activity to do with your kids (or by yourself!) on this snowy day, give this simple recipe a try.

What You Need:

1 tablespoon yeast
1-1/2 cups warm water
1 teaspoon salt
3 to 3-1/2 cups flour

That's it! Flour, salt, yeast, and water. 

Start by putting about 1-1/2 cups of the flour in a large mixing bowl. Set aside the remaining flour to add during kneading. Add the salt and yeast - keep them on separate sides of the bowl! This is a trick I learned from master breadmaker Paul Hollywood, to prevent the salt from retarding the action of the yeast. 


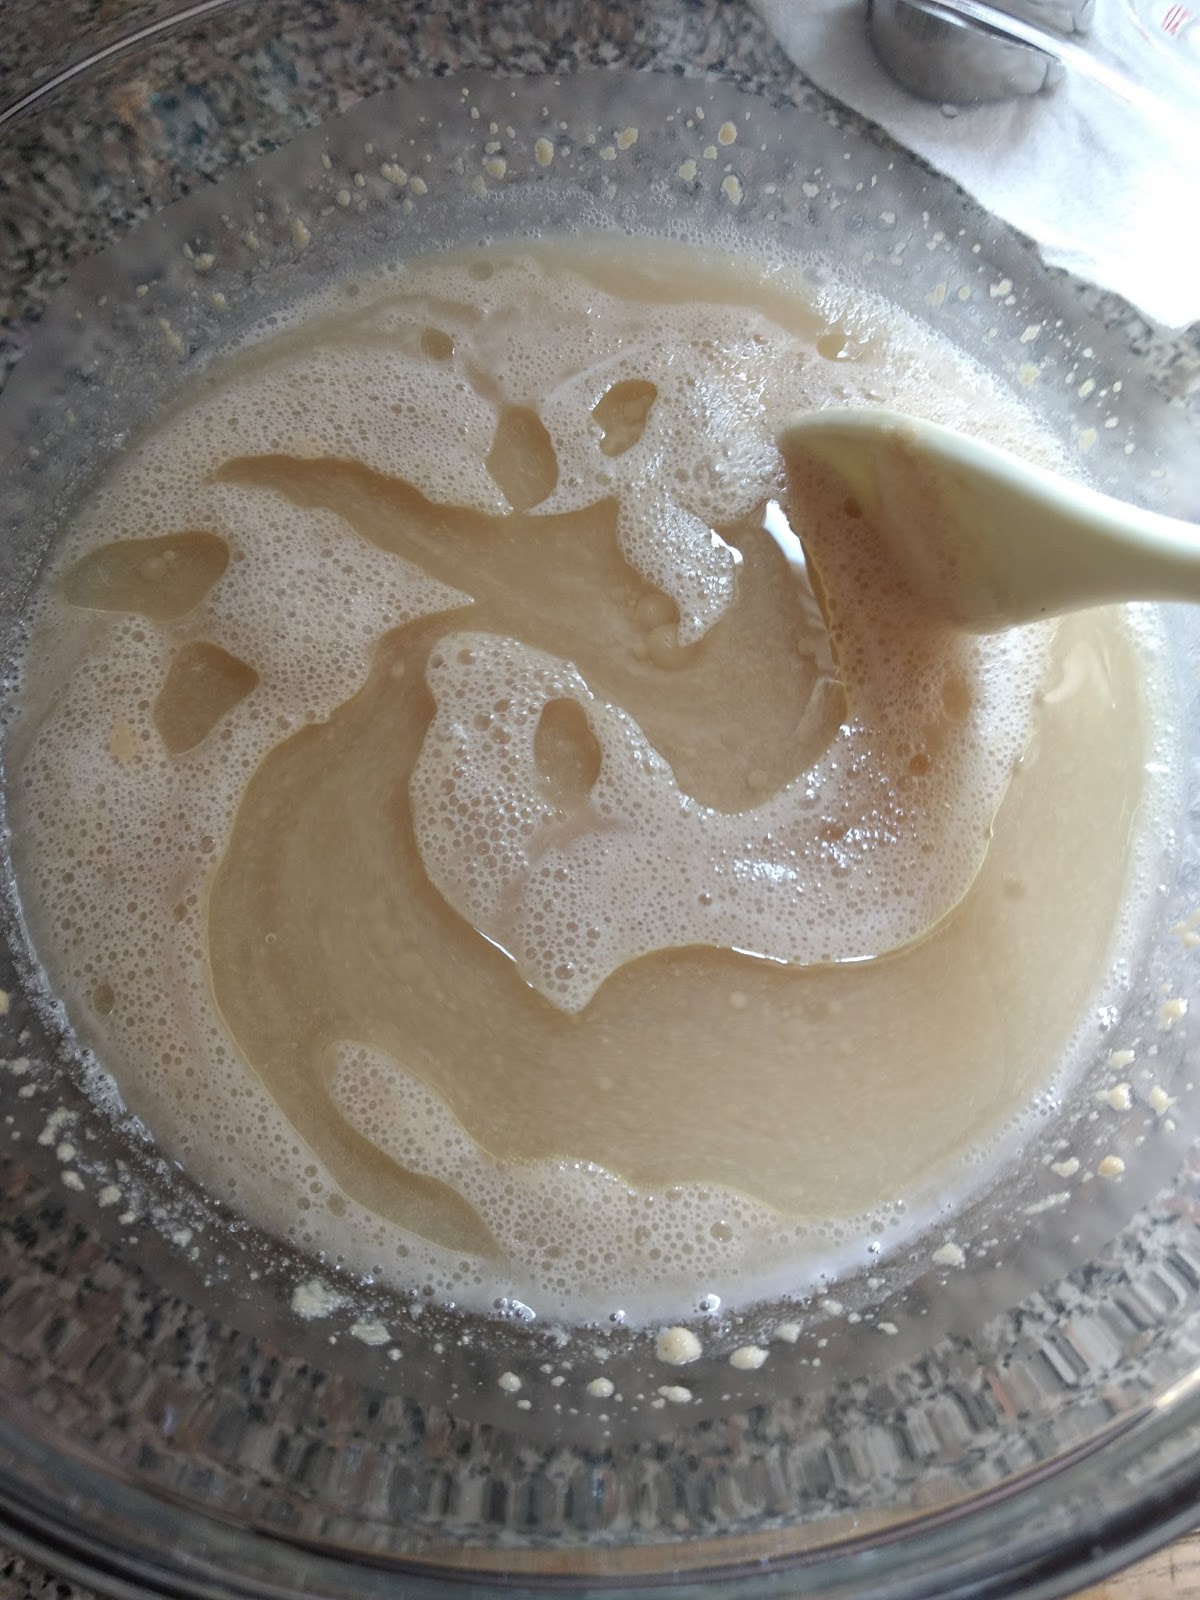
Add the water and mix. I used the bread hooks of my hand mixer, but you could also use regular beaters, or a stand mixer. You'll be mostly kneading by hand once the mixture gets thick. 


Gradually add some of the remaining flour until the dough forms a ball and starts to pull away from the sides of the bowl. Save the excess flour to use during hand kneading. At this point you can start kneading by hand in the bowl. This allows you to incorporate the flour more easily, and keeps your kneading board clean for the final kneading steps.


When most of the flour is incorporated, toss the dough onto a floured board (I used some of the remaining flour) and knead for 8-9 minutes, working in as much of the remaining flour as needed, until dough is smooth and elastic.


Divide the dough into 6 even portions. I formed the ball of dough into a rough rectangle and divided it into six relatively even strips using this cool Pampered Chef tool. I don't know what it's called or what it's for, but it's very handy for dividing dough. You can also use a sharp knife. 


Form the dough into balls. I found that patting them into shape worked better than rolling between my hands. Basically, gently squash the corners until they're rounded. Line a rimmed baking sheet with parchment and lay out the six dough balls, then cover with a light towel and allow to rest at room temperature for about 15 minutes. 


The dough won't have risen especially noticeably. That's okay. 


Press each ball into a flat disk, about 1/4" thick. It's important to keep the dough evenly thick. I found that stretching it like a pizza tended to result in a thicker edge, but pressing with fingertips gave a fairly even result. Place the disks back onto the parchment, cover, and allow to rest at room temperature for another 30-40 minutes. While they're resting, preheat the oven to 425 degrees.


Again, they won't really rise noticeably, and that's okay. When they're ready to bake, line another rimmed baking sheet with parchment paper, and flip two of the disks (using a spatula, or gently peeling with your fingers) onto the parchment so the dry top side is now on the bottom. Spritz lightly with water, or - as I did - dab the top of the dough with a damp paper towel. 


Bake, two at a time, for 10 minutes, until just barely beginning to brown and nicely puffed. Do not overbake! Occasionally one might fail to puff, but call it a flatbread and it'll still be delicious. 


Use a sharp knife (or the above unnamed baking tool) to cut the pita in half and you'll see that cool pocket! 


The pitas are most delicious when served warm with a little butter tucked into the pocket, or fill with your favorite sandwich filling. Enjoy!


Bookmark and Share

Friday, April 13, 2018

Easy Amish Sweet Bread

Maybe it's the fact that spring is (finally!!) in the air, but I've recently had the urge to get back in the kitchen and bake. I'm more of a cook than a baker, and winter is my time to happily make casseroles, soups, and anything that can fit in a crockpot, but for some reason spring always brings out my inner baker. So when I realized that I actually have a bit of free time today, my first thought was, "Hey! I'm going to bake some bread!"

I felt like trying something new, so I scrolled through Pinterest, and I kept coming across recipes for something called "Amish Bread" that looked a lot like plain old white bread. But one variation I found referred to "Amish Sweet Bread," and that caught my attention. Apparently this recipe has a slightly higher sugar content, so it's more like a coffee bread or a quick bread, which I thought my kids would really like. This is a super-easy, minimal ingredients recipe that I'm sure I'll throw together often from now on.

Seriously, it only calls for 6 ingredients, all of which I always have on hand: water, sugar, yeast, oil, salt, and flour.

The first step is to proof the yeast. Put two cups of warm water into a large mixing bowl (you'll eventually add all the ingredients to this bowl, so be sure it's big enough). Technically, it should be about 110 degrees, but who wants to bother with a thermometer? Use "hand-washing warm" water and you'll be about right.

Stir in 2/3 cups sugar, or less if you want the bread to be less sweet. Don't worry about the sugar dissolving. Add 1-1/2 tablespoons of yeast. They don't seem to make 1/2-tablespoon measuring spoons any more - I remember my mom having one, but none of my sets do. I'm way too lazy to measure out a tablespoon plus 1-1/2 teaspoons, so I just eyeball it. Yeast is pretty forgiving.


Once everything's been stirred together, let it sit at room temperature for 10 minutes or so to do its thing. When the time is up, it should be nice and foamy. Don't worry if there are still a few lumps or if not all the sugar is dissolved.

Stir in 1-1/2 teaspoons of salt and 1/4 cup oil (I used vegetable oil). 


At this point, I moved over to my hand mixer with dough hooks. If you have a stand mixer, use it! If you have a hand mixer but no dough hooks, just use the regular beaters. You'll just have to stop and mix by hand a little sooner as the dough gets stiff.

Add 5-1/2 to 6 cups of flour gradually, about a cup at a time. Start on low speed to avoid clouds of flour everywhere, then crank it up to a slightly higher speed as the flour gets incorporated.

Don't forget to scrape the sides of the bowl with a rubber spatula now and then, and be sure to scoop underneath the dough ball to bring up the wet batter from the bottom, especially if you're using dough hooks.


Once the dough forms a fairly solid mass, you can switch to folding the flour in with your spatula, or just start to knead by hand. Even if it's fairly sticky at this point, it'll hold together enough to knead. Just scrape underneath now and then, because the flour tends to stick to the bottom of the bowl.


You can move the dough to a floured board to knead it if you want, but I've discovered that kneading right in the bowl is easier and gives you one less thing to clean. The only drawback is that the top of the loaf is often not as perfectly smooth as when you knead on a board, due to the bits of flour and dough that stick, but I'm willing to sacrifice perfect looks for not having to scrub my bread board. If you find your bowl slides around as you knead, toss one of those round rubber jar openers under it.

Knead the dough until it's smooth and elastic

Oil a large bowl (I rinse out the one I've been using and spray it with cooking spray), then place the dough in the bowl pretty-side down, then flip it over so it's coated with oil all over. You can spray the top with a little more cooking spray if you like. 


Cover it with a towel (it's supposed to be slightly damp but I didn't bother) and allow to rise in a warm place for an hour or until doubled. My oven has a "proof" setting, but any warm place without a draft will do: top of the fridge, near a radiator (not too near!), sunny spot on the counter.

The dough should be nicely rounded and "poufy" when it's done rising.

Next comes the best part of baking bread: punch it down! With your fist, push the dough down right in the center. When you remove your hand, the dough should hold the indentation.


With a sharp knife (dip it in flour if necessary), divide the dough into two equal portions.

Grease two standard-sized loaf pans and lay each half of the dough in a pan, tucking under the cut edges to make a nice smooth top.

Cover and proof the loaves in the pans for another half an hour.

The loaves should be about to the top of the pan when they're done proofing. Pop them into the oven at 350 for 30 minutes, until the tops are golden brown.

Place them on a wire rack to cool in the pans.

I like to slather the tops with butter. It's not necessary, but it makes them look pretty and - if possible - smell even better than they already do.

Let them cool on the racks for a few minutes, then loosen with a knife if needed and turn the loaves out on the wire rack to finish cooling.


When completely cooled, slice and enjoy!


Bookmark and Share